
Let's make bagels
When you go as local as possible (your own home) you'll get better bagels than you can buy almost anywhere!

Make your own bagels, dammit!
I recently visited New York City for four days, and tried five different bagels. They were all good, but I have to tell you that they weren’t better than the bagels I make at home - at a fraction of the cost of any I could get in a bagel shop.
Can you make bagels that are worth eating, and sharing?
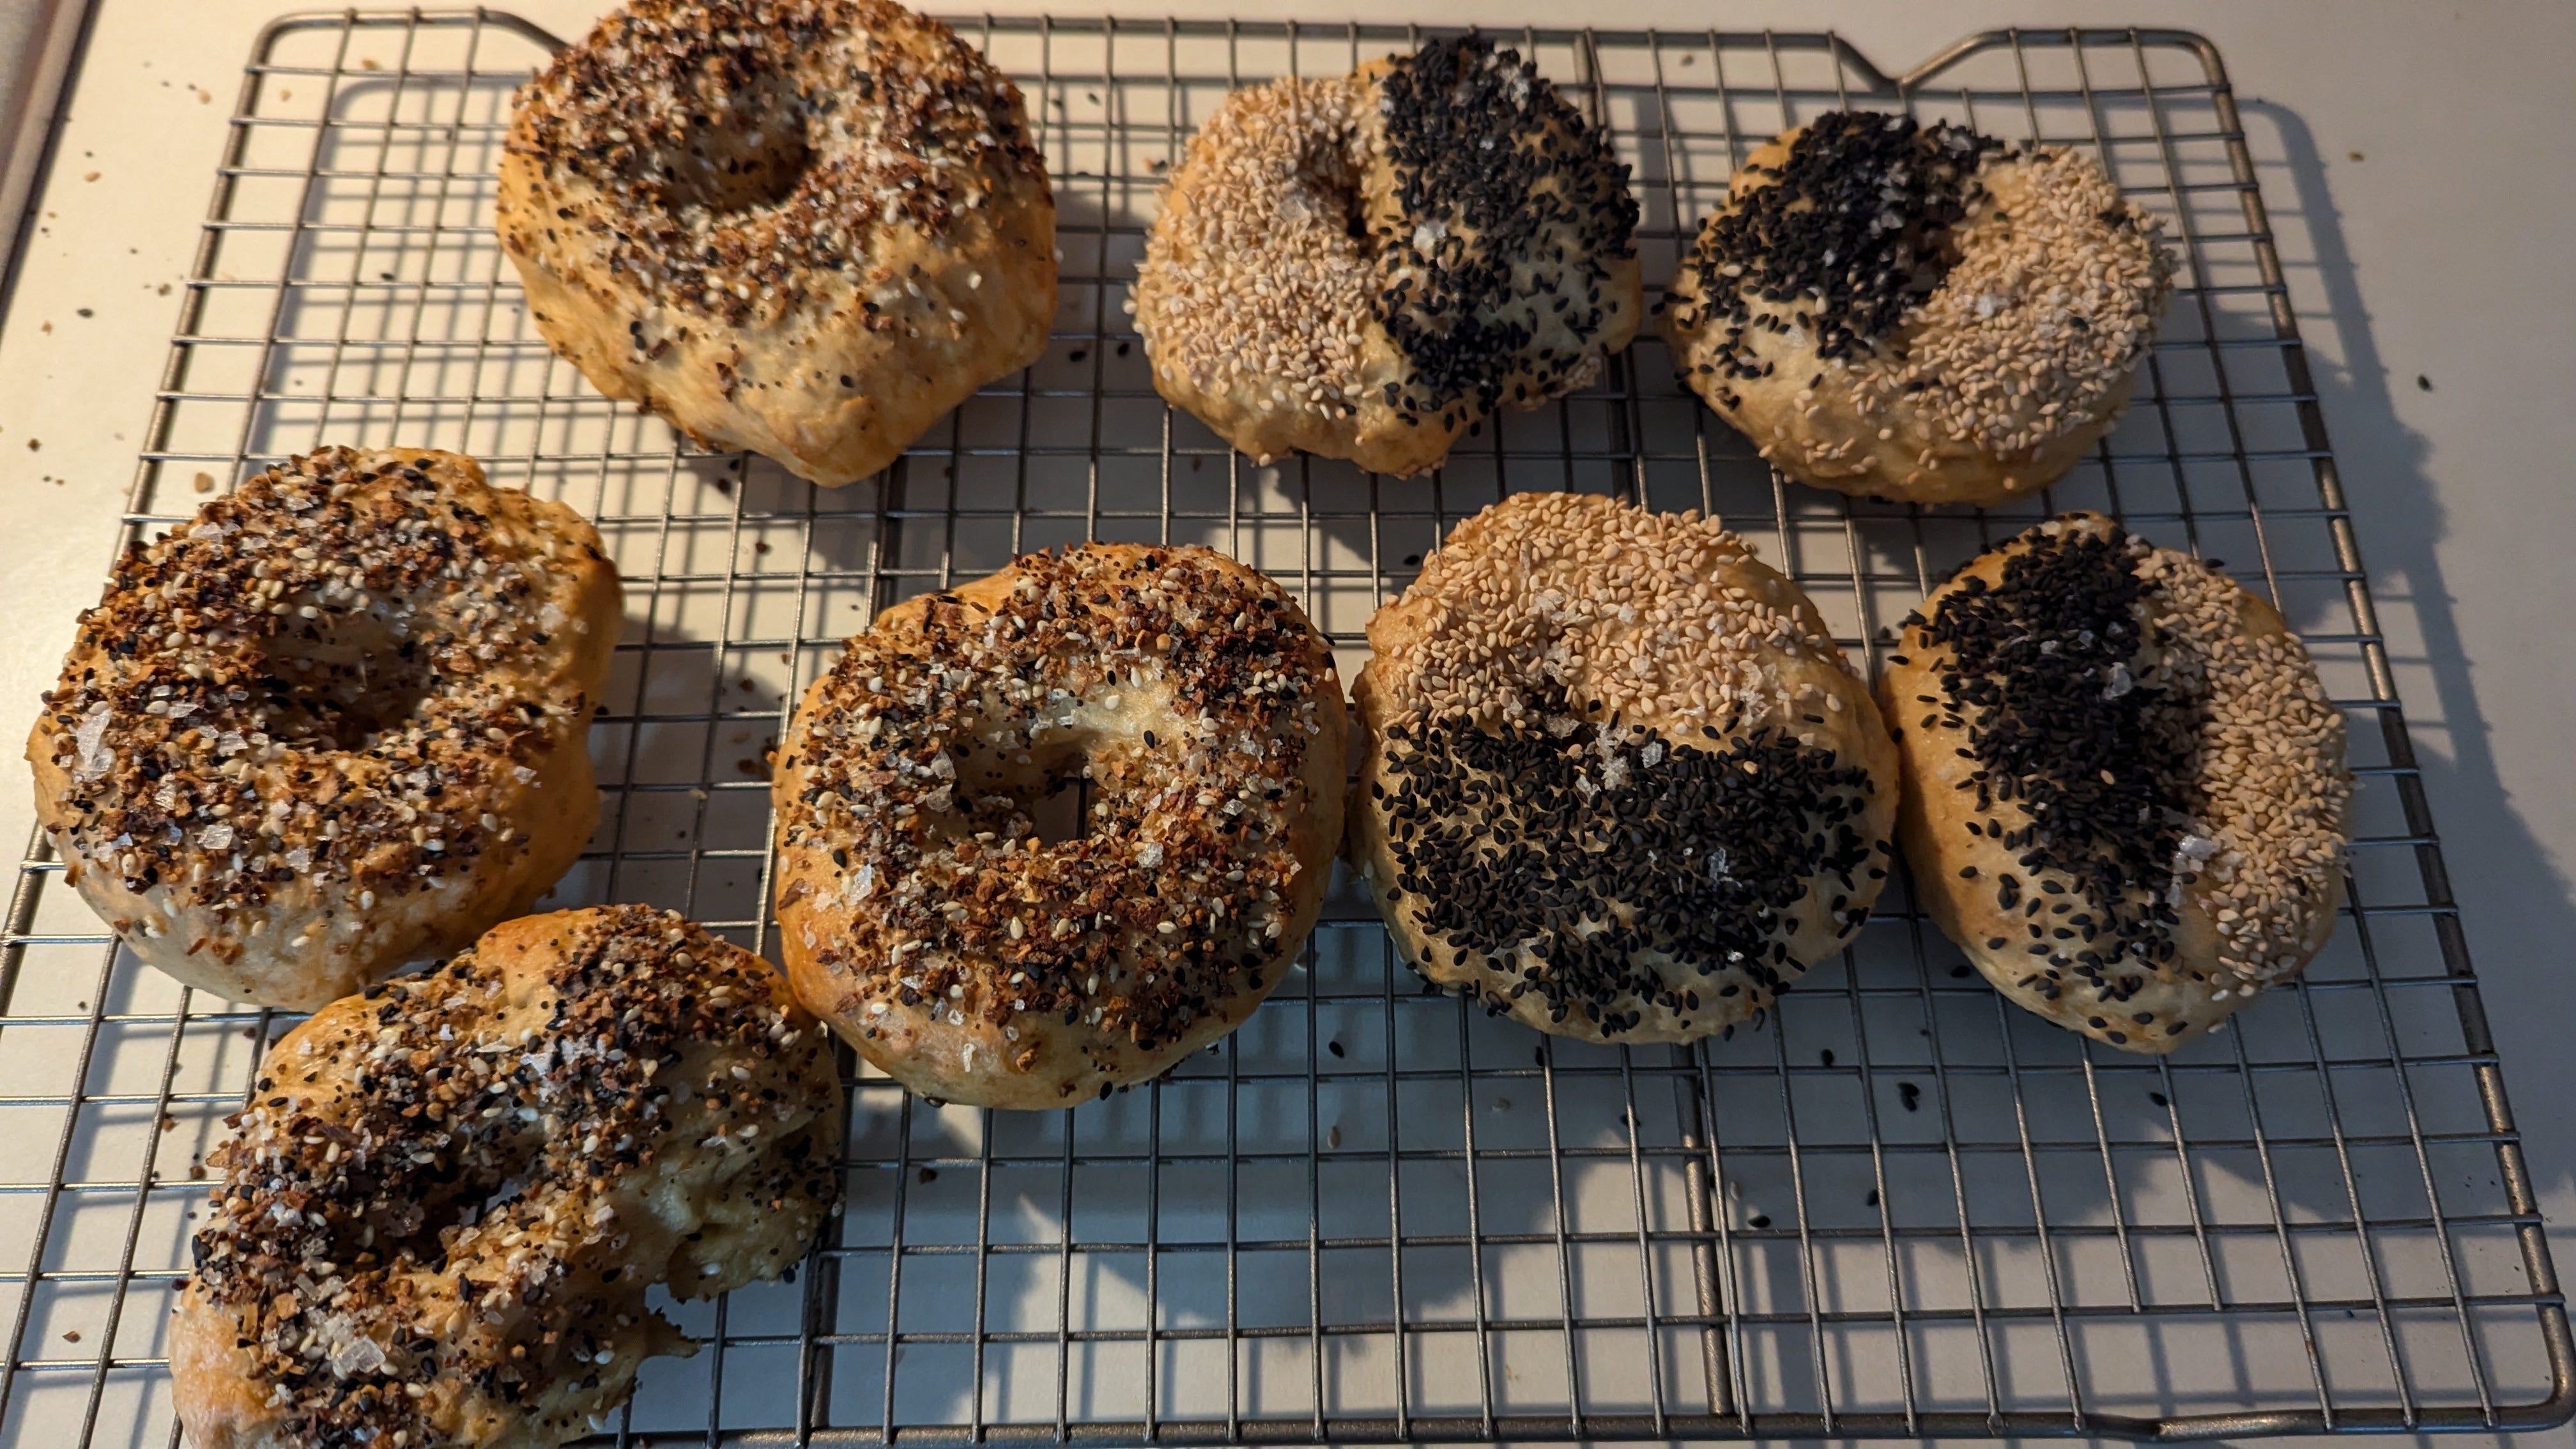
You may end up making bagels that are better than any others, anywhere. Why? Because you’ll be making them to match your own preferences. You’ll probably come up with bagels that are unlike any others, too - like the brown & black sesame bagels in the photo above.
Why make bagels?
One reason I’m starting with bagels is that they’re easy - no, really! There’s no kneading for one thing. No special ingredients are required (though a dollop of sourdough starter if you have some provides a bit more chewiness) and you probably already have the equipment you need: mixing bowl, boiling pot, baking sheets, spatula.

Another simple justification: who doesn’t like a great bagel?
Here’s a quick guide to making your own bagels, dammit!
I followed a rabbit hole to find the best recipe to start with. The Washington Post had an article, based on a blog post on SeriousEats.com by Adam Kuban. The author states:
It's adapted from Bernard Clayton's Complete Book of Breads. Clayton, in turn, got the recipe from the folks at the now-defunct Jo Goldenberg's, the famous Jewish restaurant and delicatessen in Le Marais, the historical Jewish quarter of Paris.
Toronto Bagels!
There are New York bagels, of course, and Montreal bagels, baked over a wood fire. This morning I made Toronto bagels. Which simply means that I got the ingredients at a Sobey’s grocery store on Broadview Avenue in Toronto and made them in my sister-in-law’s condo.
I asked her neighbors if they’d like brown sesame, black sesame or everything bagels. “Yes” was the answer. They got three.
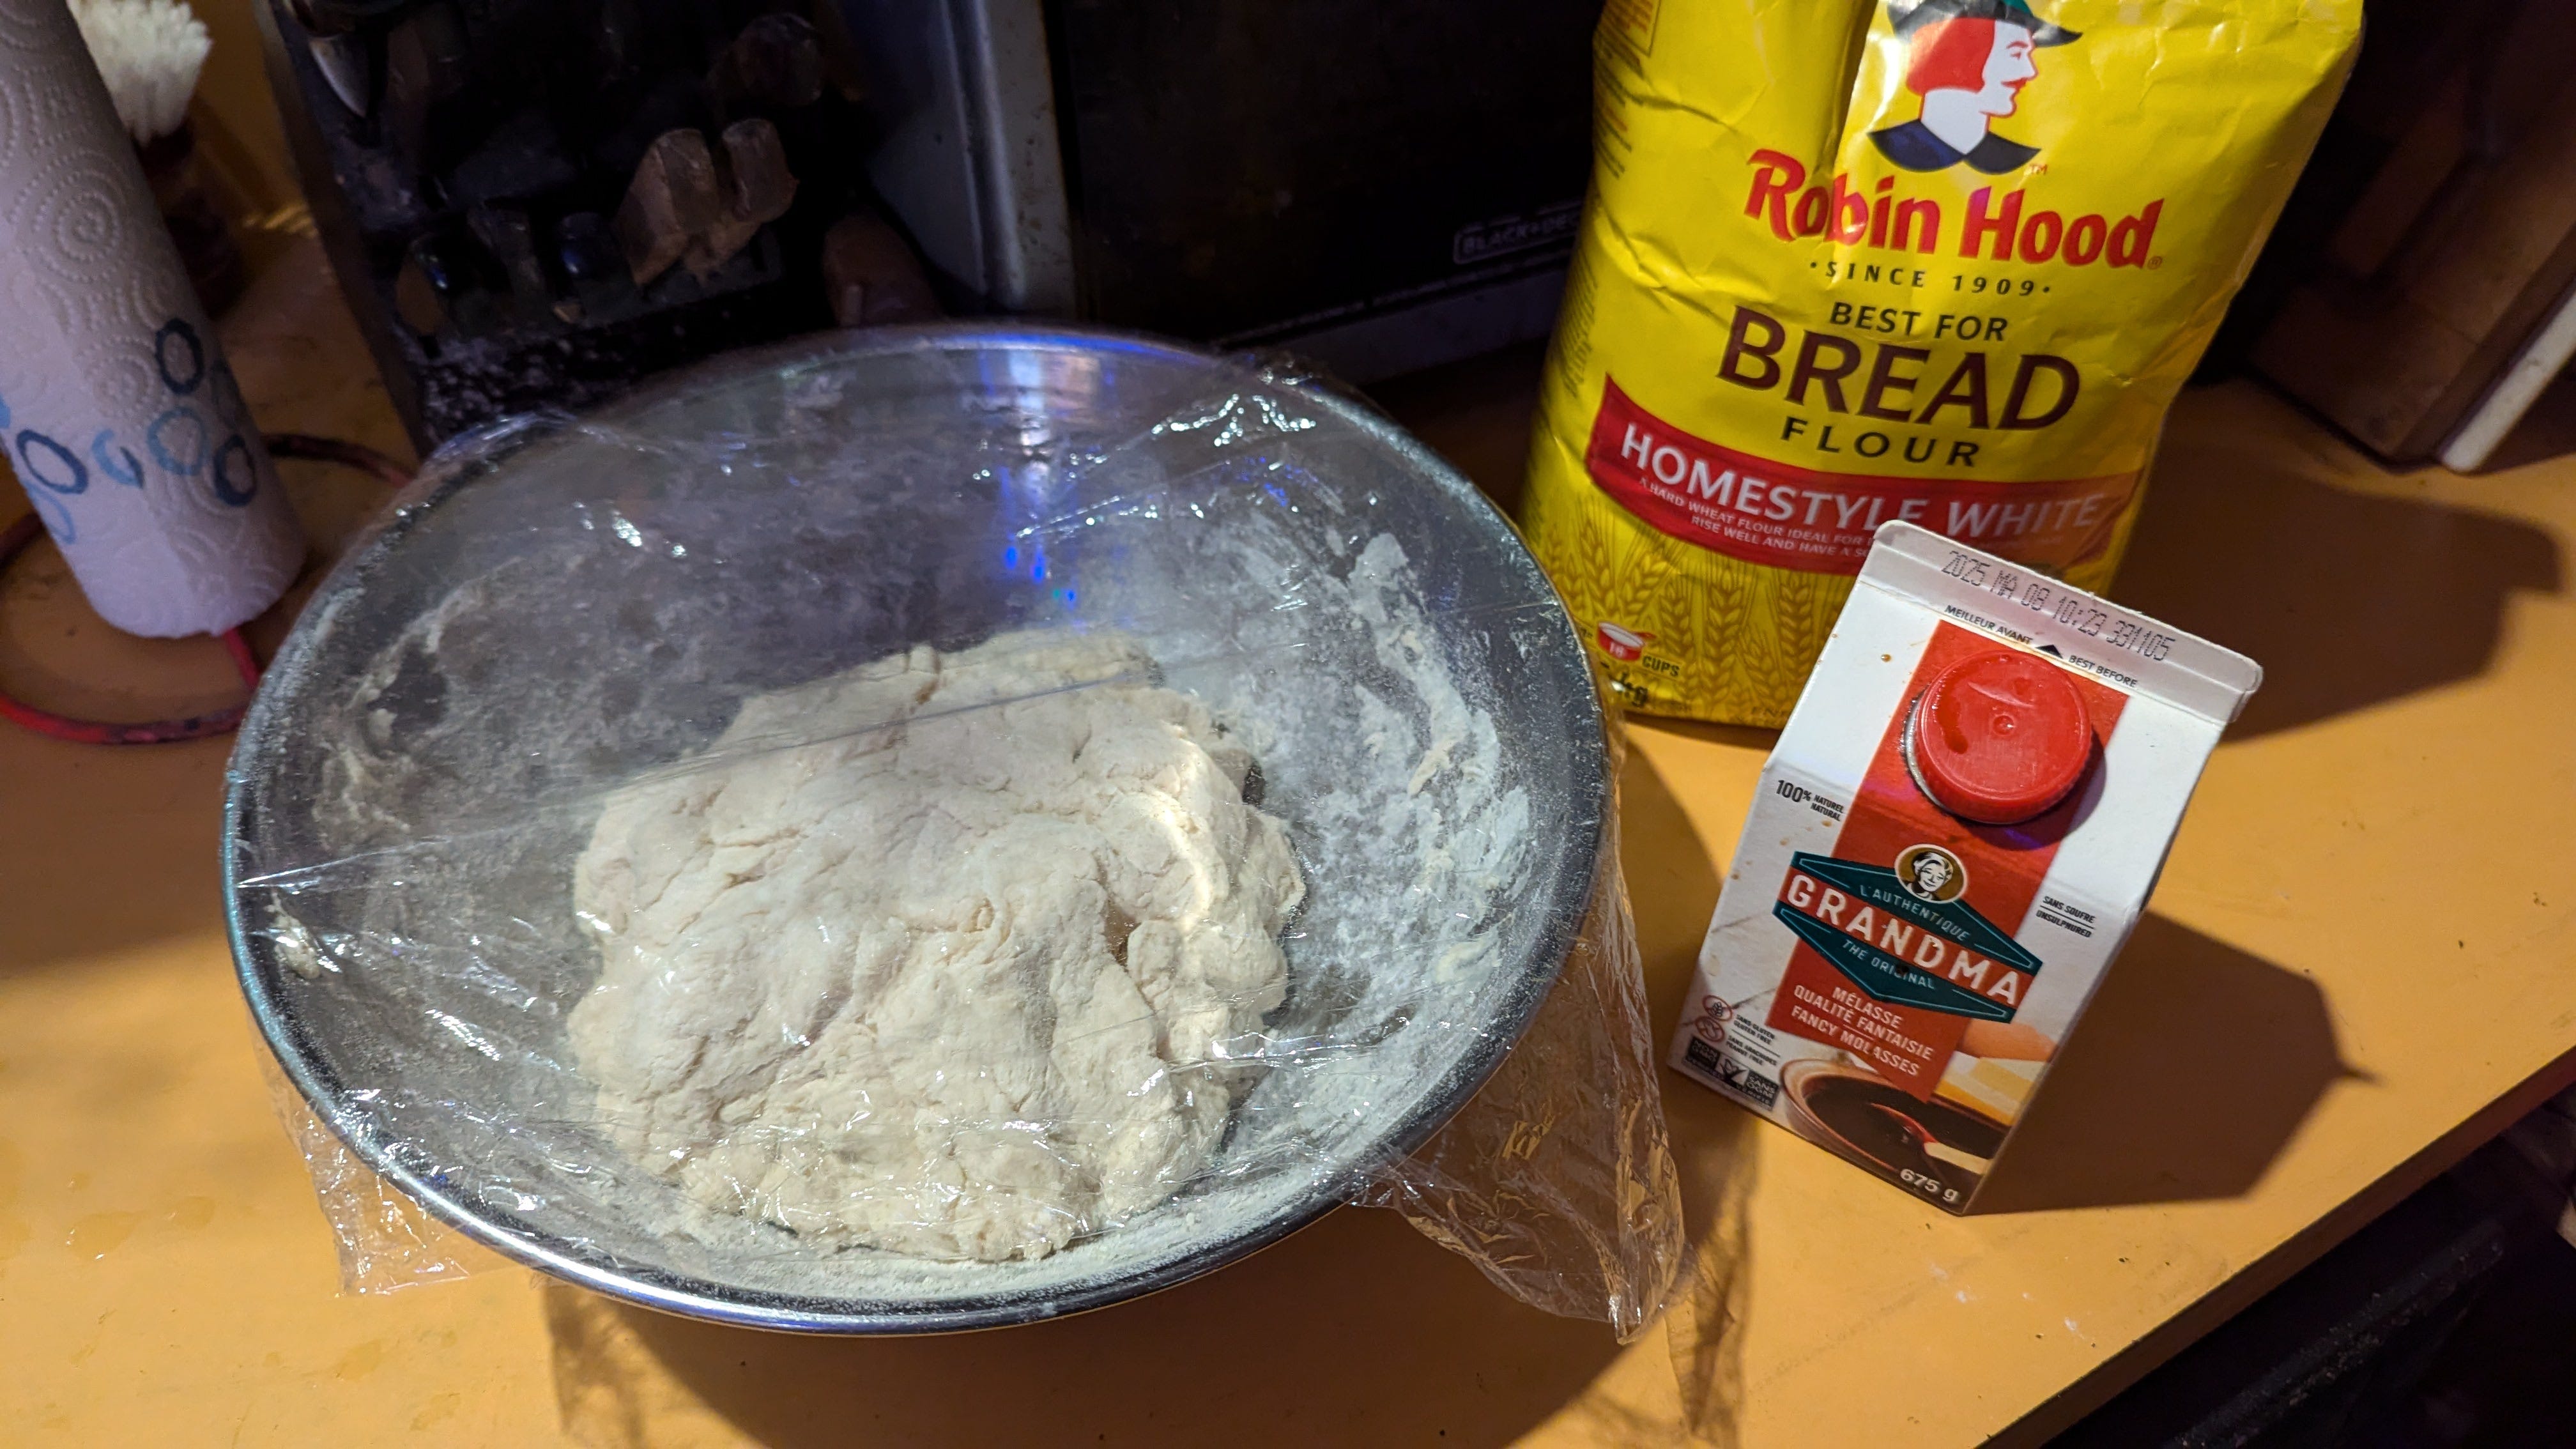
It took me forever to find molasses at that Canadian grocery store. A kind assistant pointed me to this cute carton. I’d been looking for a jar or a bottle, as we have in the States. Robin Hood flour has been around since 1909. Trust that experience!
My process
You can follow the article found through the Serious Eats link above. (They have a good piece on Montreal-style bagels if you’re curious.) Here’s my simple process:
Weigh out 530 grams of bread flour (King Arthur or Robin Hood brands are great)
Add 2.5 teaspoons of yeast (one packet)
Add 1 tablespoon of salt (I use coarse sea salt, but not necessary)
Add 2 tablespoons of sugar
Whisk together the above ingredients until they’re thoroughly blended. Then stir in 1.5 cups warm water, about a half cup at a time. For the last half cup, use your hands to mix it all together. Add enough of the remaining water to form a dough that’s fairly moist but not overly sticky. Using your hands is the only way to tell that, so dive right in.
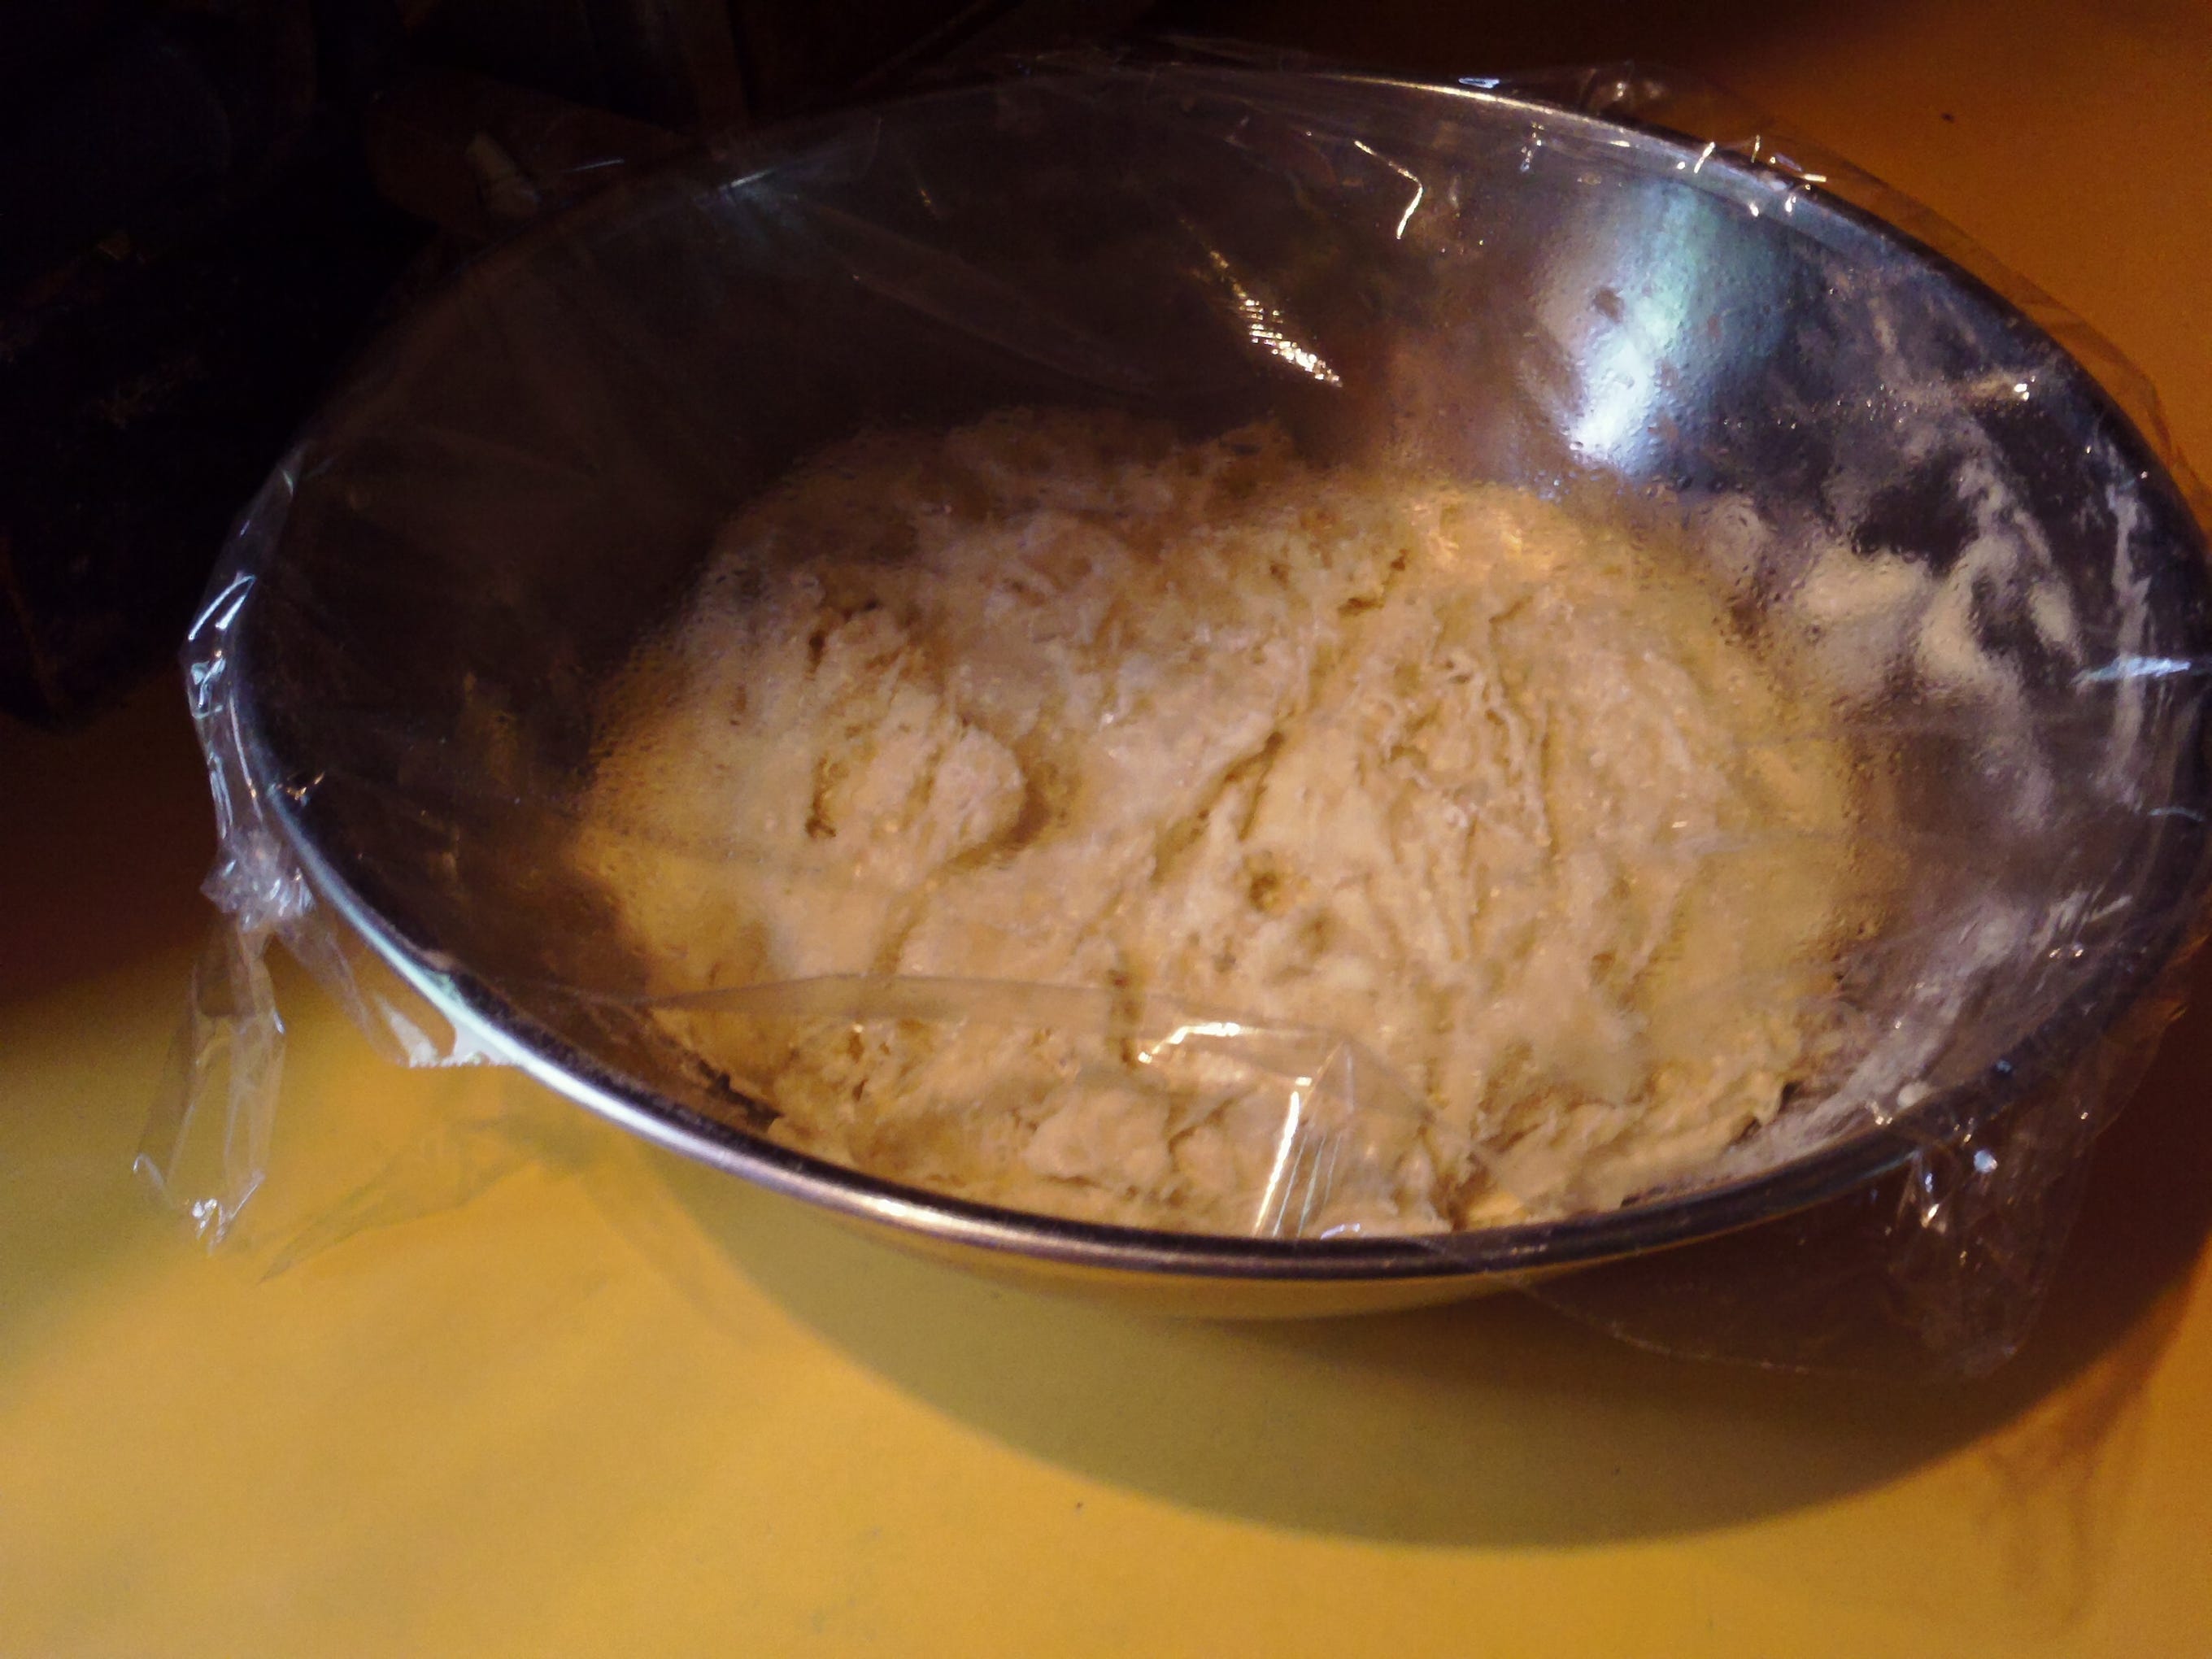
Cover with plastic wrap and let rise for 1.5 hours.
Secret tweak
I add something a bit different that gives the bagels even more chewiness: sourdough starter. This is added after the first cup of warm water has been stirred in. I usually only need another half cup of water after that.
If you don’t have sourdough starter in the house … why not?!
Forming the bagels
Pour the risen dough onto a flour-dusted counter, give the whole thing a quick knead to integrate it all and cut into 8 equal chunks. Sprinkle flour on each segment and form a round mini-boule with your thumb in the middle. Flip it over and punch through the middle with your fingers. Stretch it out to make a bagel shape. It should give you a bit of resistance, but you probably won’t be able to break the resulting ring.
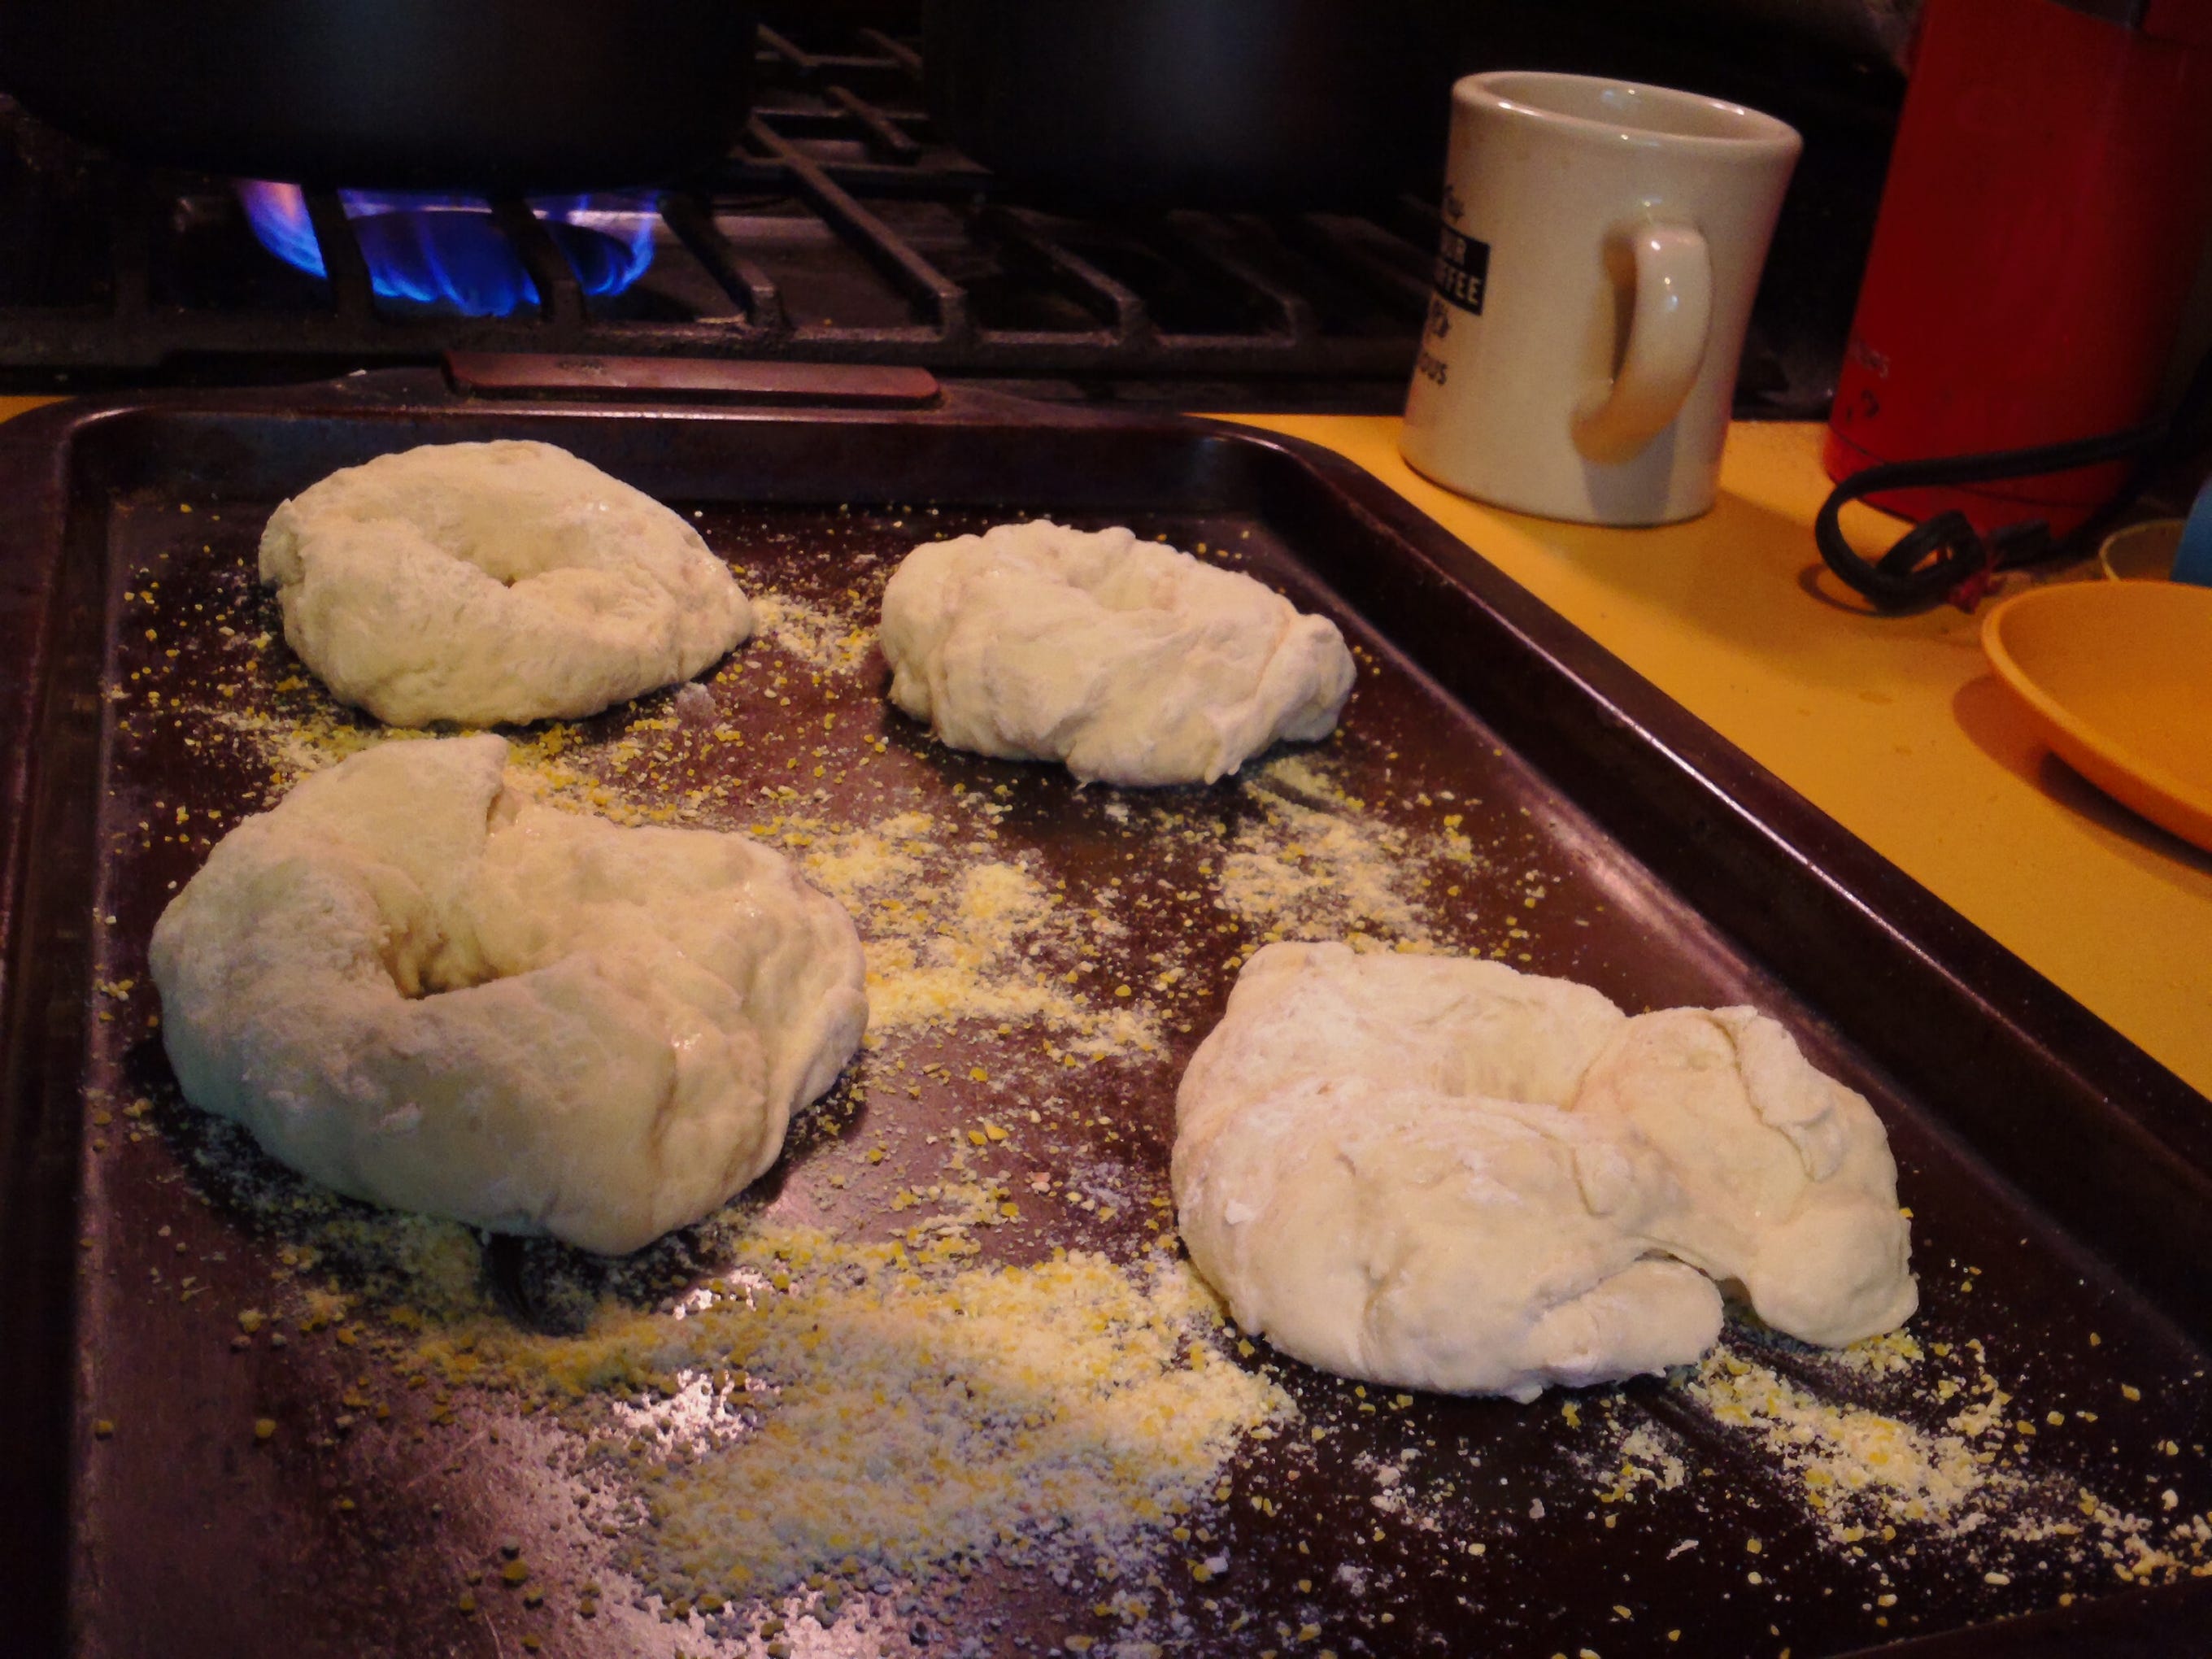
Place the bagels on a baking sheet sprinkled with cornmeal and cover with plastic wrap to keep from drying out.
Final prep steps
One important step is to boil the bagels before baking. Here’s how:
Boil approximately 4 cups of water
Add 2 tablespoons molasses (I used Grandma brand, but you may need to go to Canada for that; any brand is fine, actually)
Pre-heat the oven to 400 degrees
Using a slotted spoon or spatula, lower 4 bagels into the boiling water
After 30 seconds, flip the bagels and boil another 30 seconds
Flip the bagels and remove placing them on the baking sheets
Sprinkle your preferred topping on the baking sheet while the bagels are boiling
That gives you topping and bottoming!
Repeat for remaining 4 bagels
Sprinkle with topping
If you like salt, add some flaked salt along with your topping
Boiling the bagels in molasses and water.
Baking the bagels
When the oven has reached 400 degrees, place the baking sheets on two shelves. Then follow this procedure:
Bake for 15 minutes
Using a spatula, flip the bagels, rotate the baking sheets and bake for 10 minutes
Flip the bagels again, change the shelf for each baking sheet and bake for 10-15 minutes more (or until done to your satisfaction
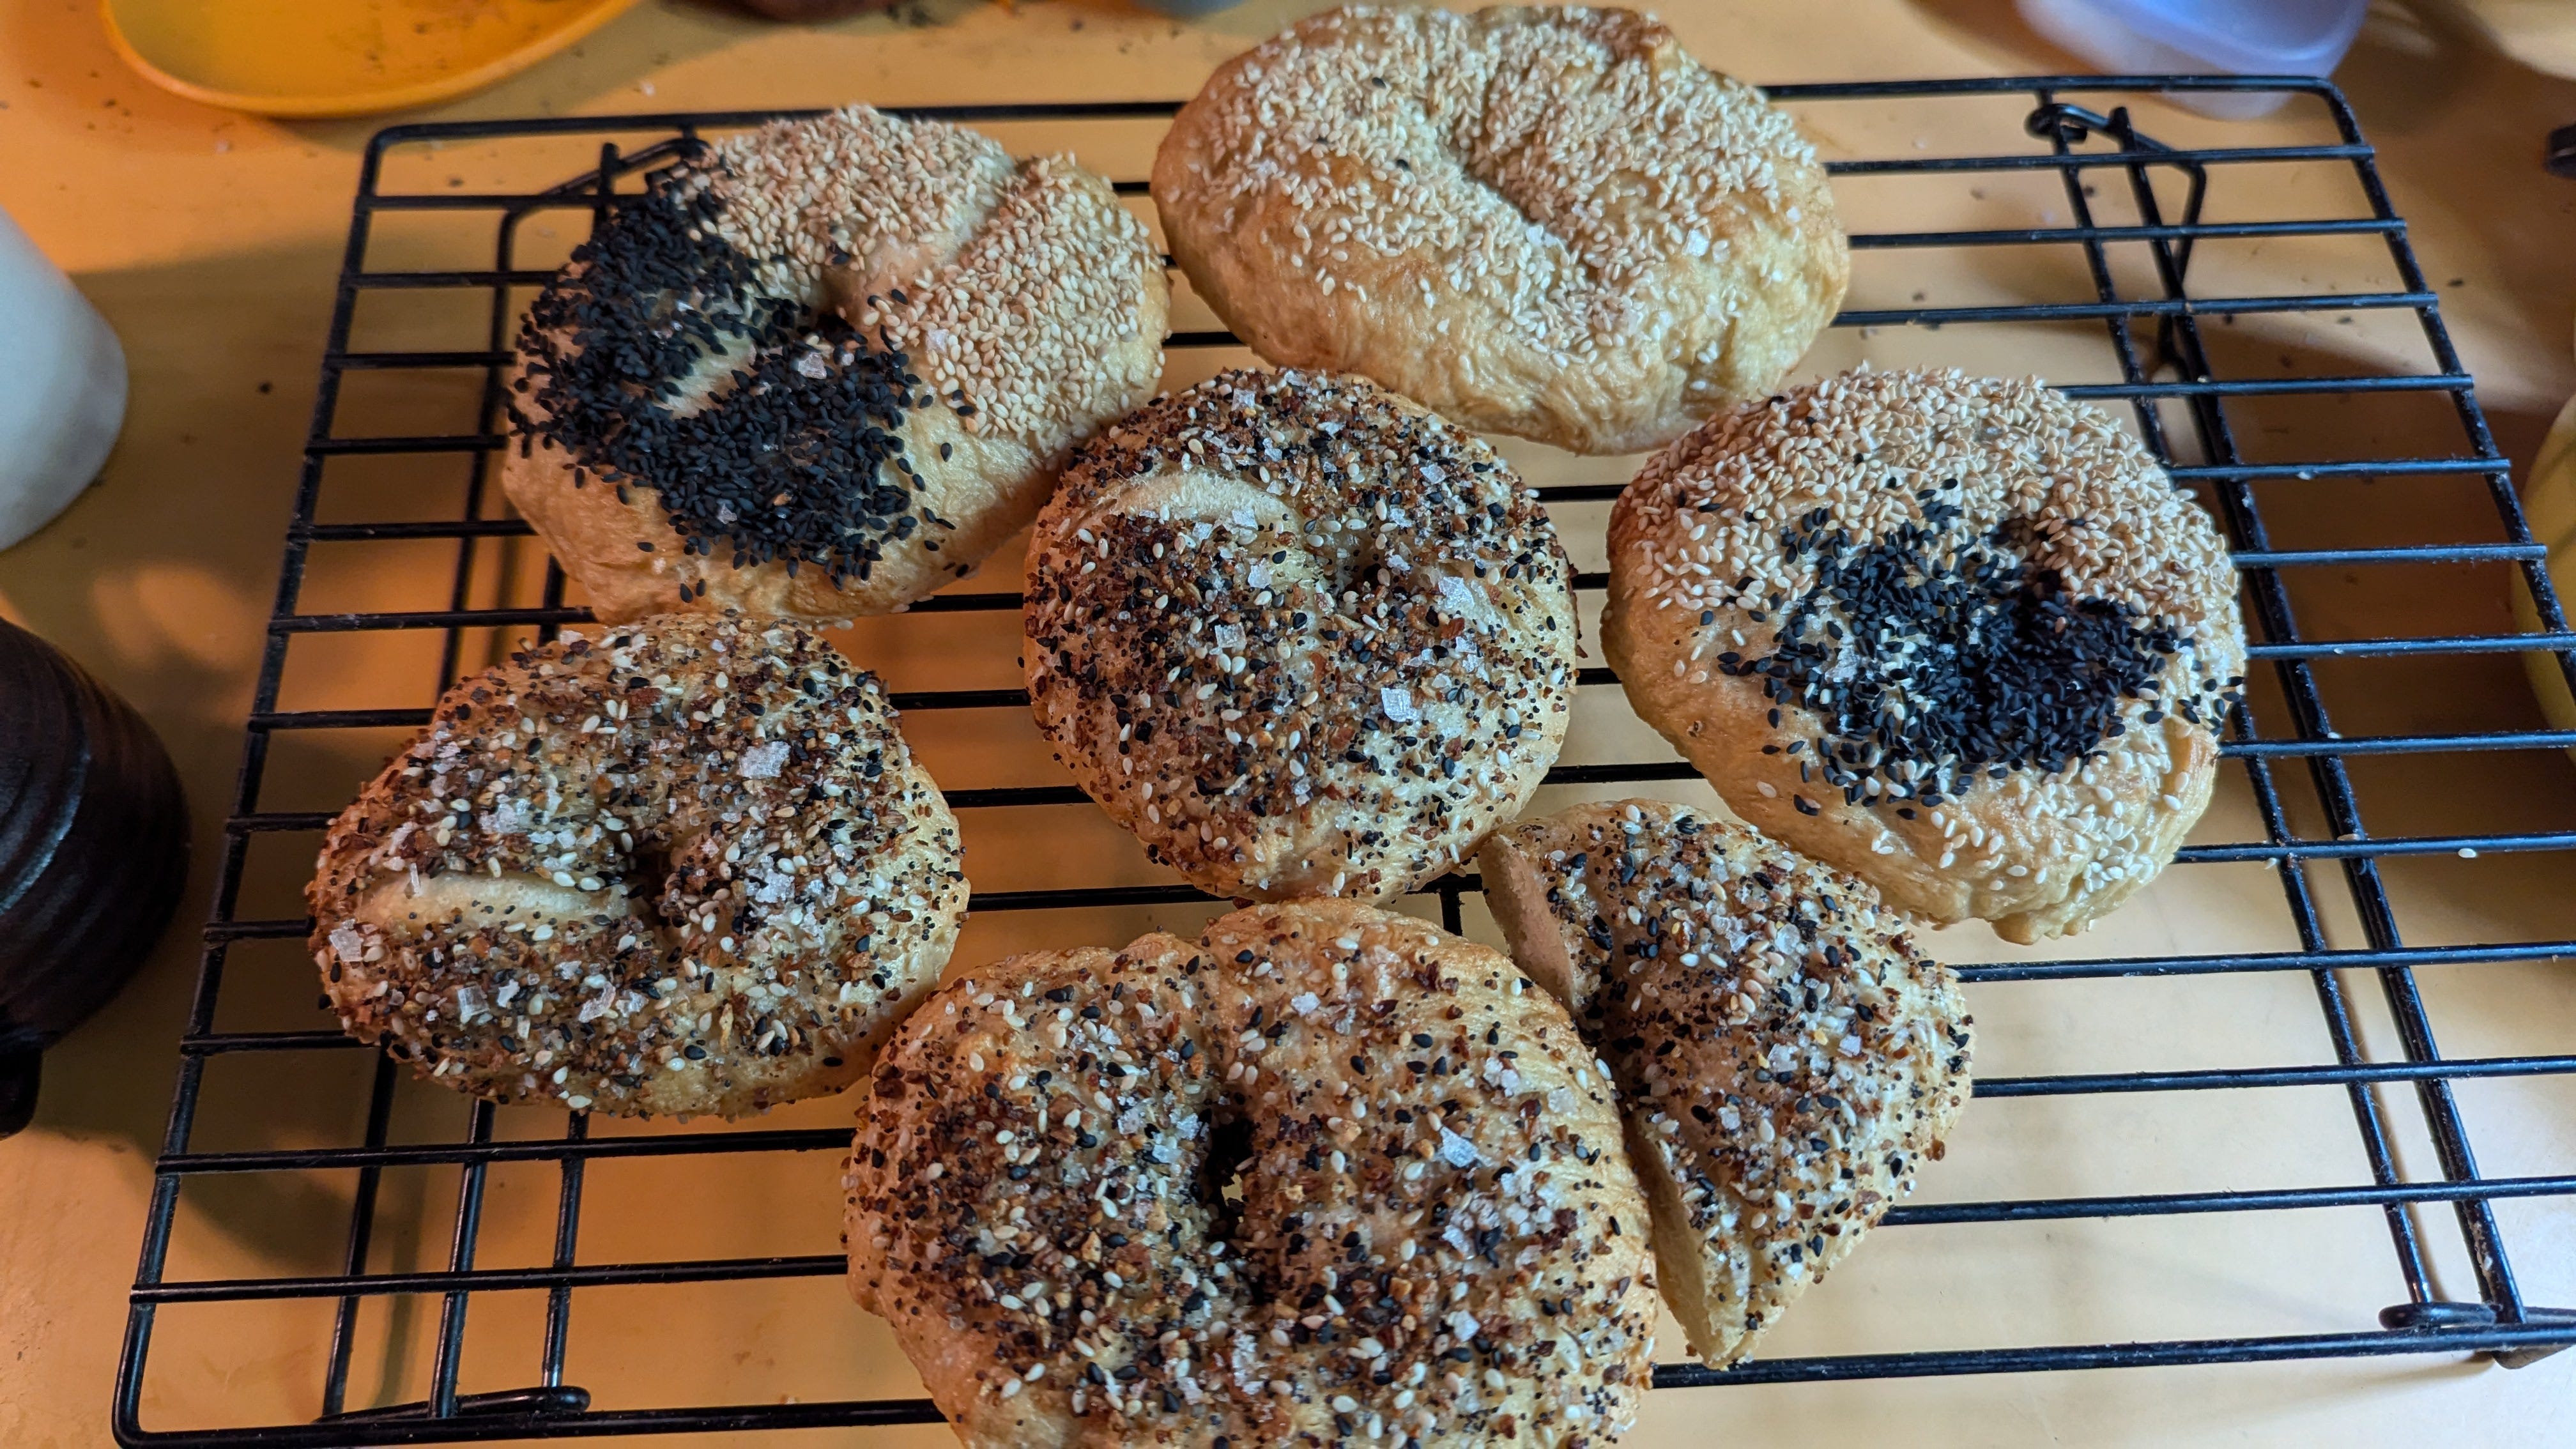
Place on cooling rack, split the bagels horizontally, toast and spread butter, cream cheese, avocado slices or peanut butter on each slice. Enjoy!
The final step
You have 8 bagels, right? That may be too many to eat right away. Why not give some to your neighbors, friends or family? They’ll appreciate it and you’ll have an excuse to make more bagels sometime soon.
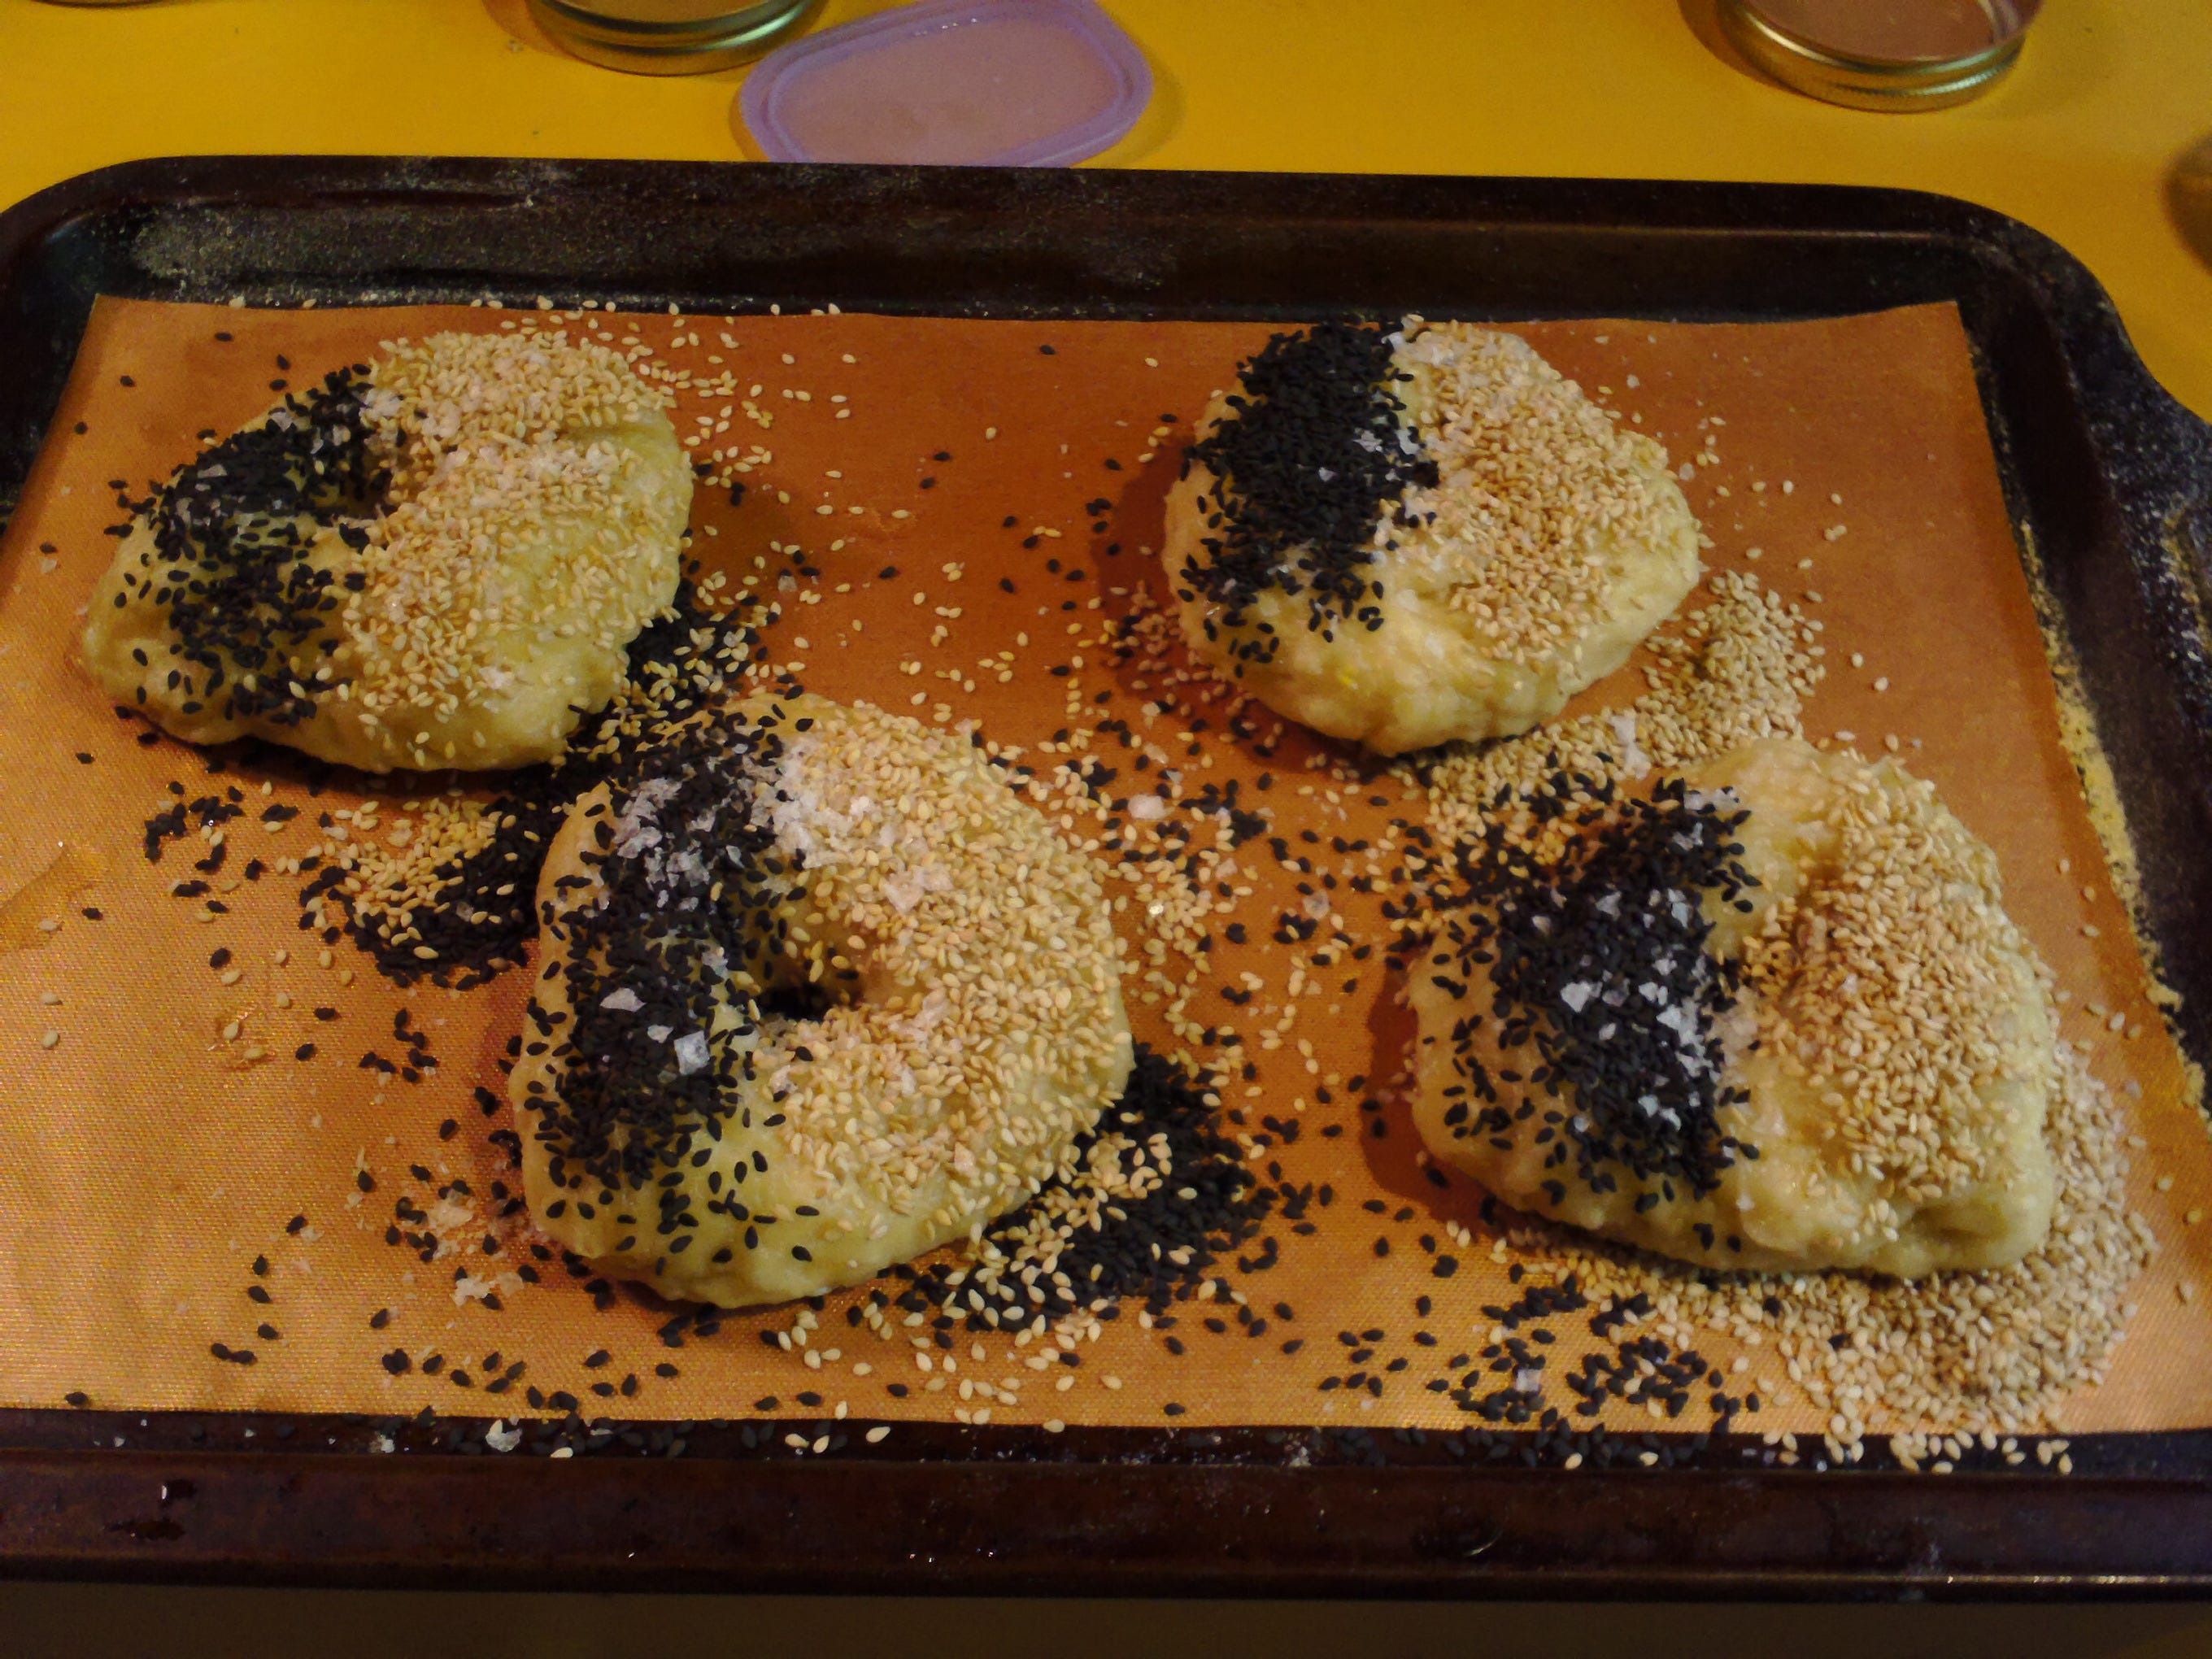
Sprinkle generously. These are topped with both brown and black sesame seeds. Try your own toppings, and let me know in the comments how they turned out!
This post is available to all for free, and all may comment, as long as you keep your comments respectful of others.
See that half-bagel in the picture above. I had it this morning, toasted, with butter, and it's fine. Day-olds should not be a problem. In fact, I think I can catch more individual flavors in the everything topping (and bottoming). They freeze well, too. Slice before freezing, my advice.