1000% Return on Your Investment
Almost literally guaranteed!

How can I (almost literally) guarantee a 1000% return on your investment?
I’m not holding out the opportunity to double your investment - a 100% return. That would be absurd in itself.
No, I’m promising a 10x return! I can assert that ambitious goal because I’ve done it for many years now.
That is, I’ve grown my own garlic.
It’s simple: plant one clove of garlic (root-side down, of course) and you’ll get one bulb of about 10 cloves each, at least.
You’ll need a prepared site of loosened soil, a hoe and water. That’s it.
Fall is the time of year to take the first step in your investment project. Garlic likes to over-winter in the ground, so I try to get those cloves in the garden by mid-October at the latest.
I buy good garlic at farmer’s markets for my crop. Look for hard-neck varieties, which allow the cloves to fall off the stem more easily. Hard-neck garlic can’t be braided, as they used to do in the old days, but who has time for that?
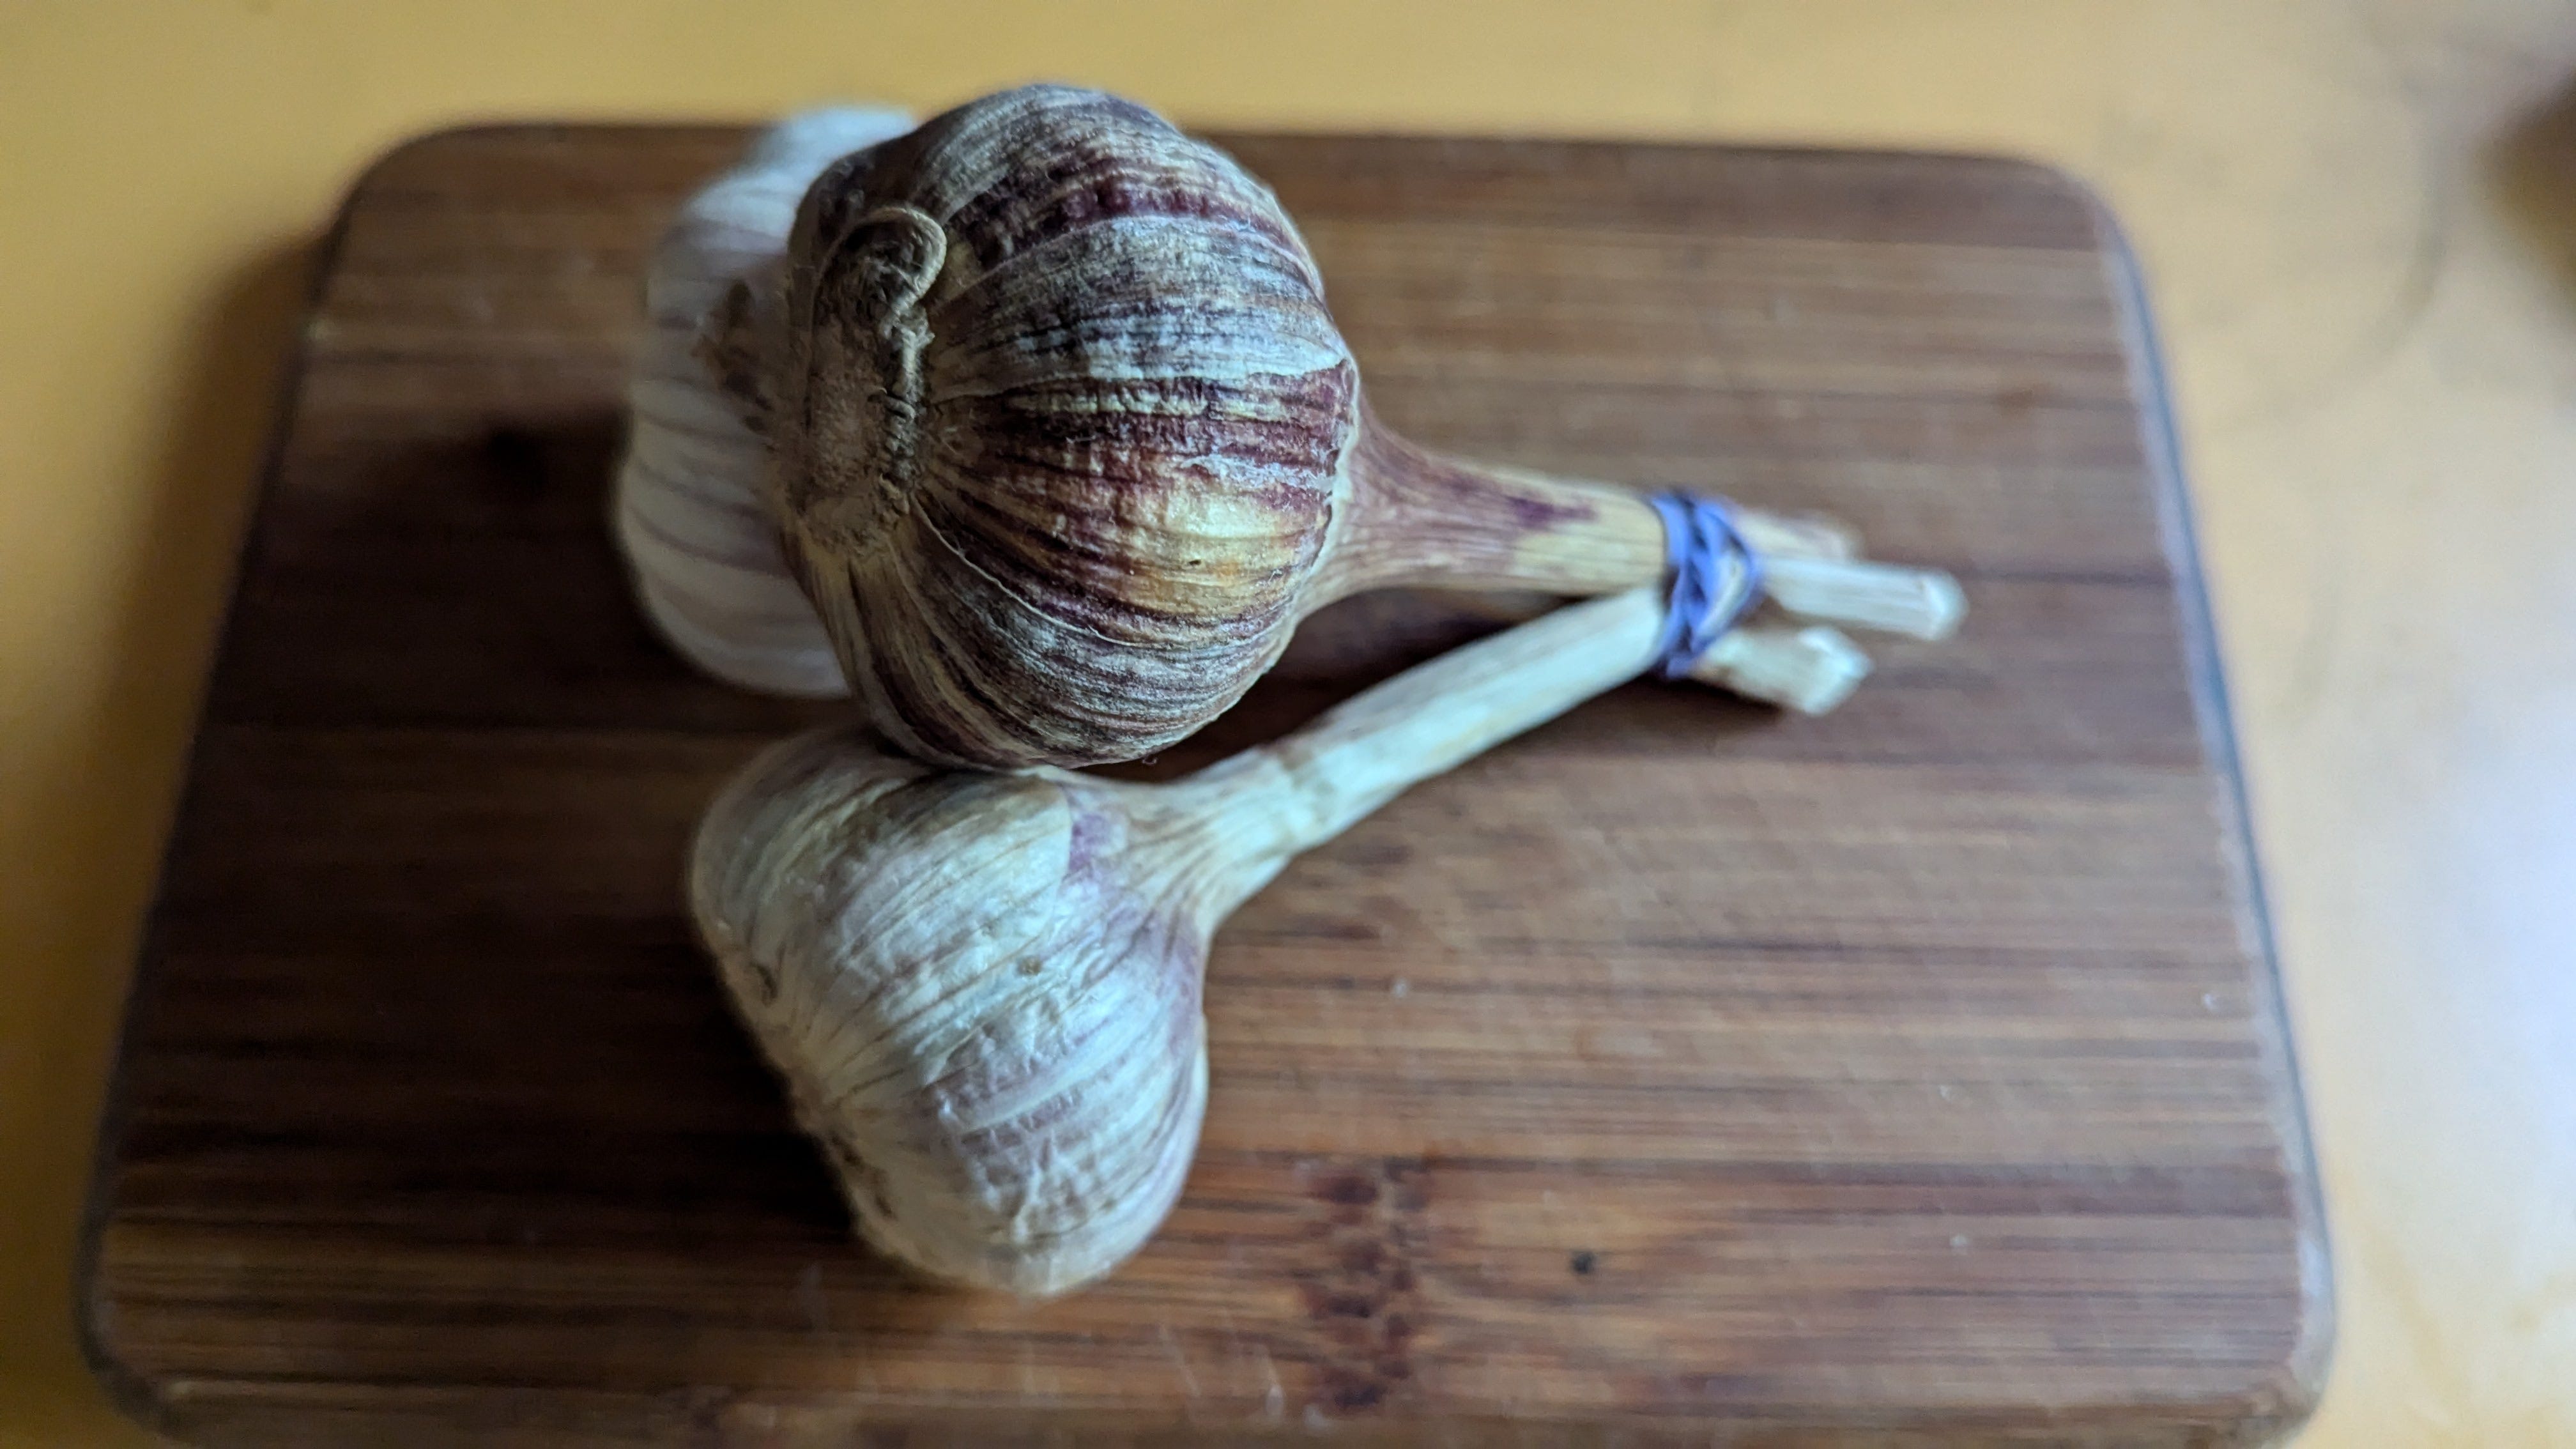
I prefer purple-skinned garlic, too, as in the photo above - just because they look cooler in my opinion. (Boil the purple skins in the pot when making hard-boiled eggs and they’ll look like brown eggs when done.)
What’s the time commitment?
If you’re fairly efficient and your garlic plot is worked up, the investment in time may be as few as four hours - over 8 months!
It might take one hour to split apart your planting garlic and stick the cloves in the ground. They like to be buried approximately four inches deep and six inches away from the next one, allowing the bulbs to grow without bumping into each other.
Cover with soil, water the rows thoroughly and then forget about it until the following spring, when you could spend a half-hour weeding.
In late May or early June, the growing garlic produces seed pods at the end of a curling stem. Cut these scapes (as they’re called) so more energy goes to the bulb growing under the topsoil.
Scapes can be peeled and used as sprouts or salad, in pasta sauces or sprinkled on pizza, for a zingy topping. The scape-cutting process might take another half-hour.
Sometime in the middle of July, spend an hour digging up the garlic, taking care to keep the bulbs intact as much as possible. Let the garlic stalks cure in a dry space for two weeks. (I lay mine out on an old screen door resting on a couple of folding chairs.)
Then cut the bulbs from the stalks and trim the hairy roots from the bottom of each bulb. Store your home-grown garlic in a cool, dry place and use them weekly. Your garlic should keep until January of the following year.
I like to separate out 10 or 12 of the best bulbs - which we call champs - to use for planting the following fall. So really, if I’m using bulbs purchased in past years, my return on investment may be even more than 1000%.
Garlic is great for your health, too. If you eat garlic once a day, nobody will get within 10 feet of you, so you won’t get their germs.
So it’s not too late to find some good planting garlic and get them in the ground before winter comes. Then enjoy your investment windfall and good health as well!
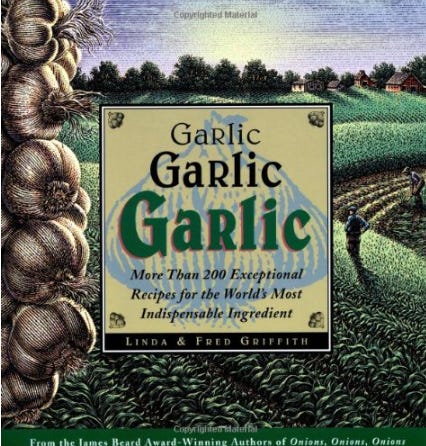
[NOTE: A good resource for all things garlic is a book called Garlic, Garlic, Garlic by Linda and Fred Griffin, available for $5 or less at AbeBooks.com and elsewhere.]